Introduction:
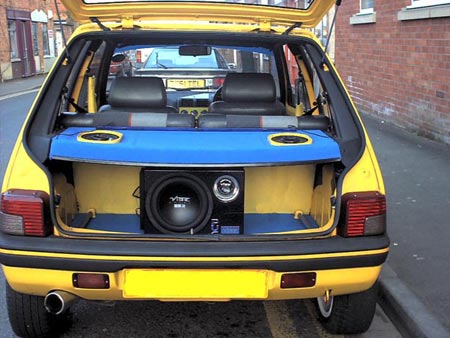
This article describes a complete procedure of colouring the 205's boot. You may find this useful if you're building a boot ICE install and want it to be unique and attractive or if you want the boot to follow the colour scheme of the rest of your car's interior or generally your car's style.
The job:
To change the colour of you boot you will need 3 packs of bass box carpet 140cm x 80cm each or go to a fabric shop and find your own material (bass box carpet has a good surface to clue and isn't see through, so ideal when your covering black), sharp scissors and/or scalpel, fabric glue in a spray bottle or some good PVA and at least a 1 inch paint brush, 3m of Velcro for the back of the seats, purchased from a fabric shop. If you are cutting speaker holes into your shelf then you will need a jigsaw or dremal tool.
The easiest job is the boot liner. Firstly remove the boot liner and shelf and give them a good clean. Just lay the carpet colour side down. Depending weather or not you want a semi permanent finish, you can either cover the liner in glue OR you can fold the edges of the carpet over the liner and tape them down, I did both.
With the spray clue or paint brush, cover the liner in glue, then without making a mess, lay the liner over the carpet (colour side down), lay it 1 inch from the edge of he carpet, so you don't waste any and you have enough to overlap, if you choose. Use a rolling pin or something else tubular and heavy to flatten the liner to the carpet. Its not like stickers where you get air bubbles, once you flatten it, it stays flat.
Once you click your back into place, you will need to trim the edges with the knife or scissors, I folded the inch excess over the liner and glues it down, it look much neater this way. Depending on colour, it should look like this.

That's it,just leave it to dry.
The next easiest is the backs of the seats. Get your sticky Velcro strips and stick them (male & female), the full length at the top of the seats, then the bottom. Cut the strips, 1" longer than the seats, either side, and stick down. I hope this makes sense.
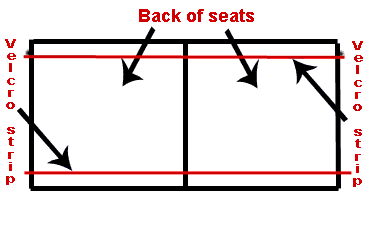
The top strip should be level with the shelf and the bottom strip, just below the boot line. Peel the backing of the Velcro and push your carpet to the top strip, get rid of any slack but don't stretch it, then stick it to the bottom strip.
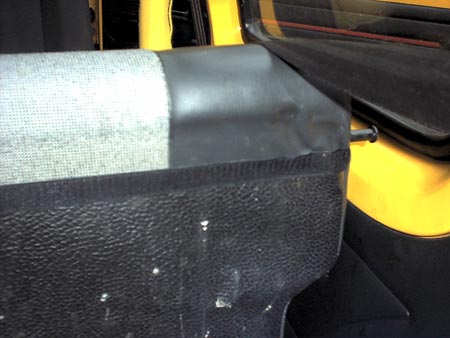
The reason for Velcro is so you can remove it and put it back, without any trouble.
The parcel shelf is a bit dodgy but should be ok if you have strong glue and a steady hand.
If you want to put speakers in it then you will need some sort of template, to make the holes. If you buy your speakers new then the usually come with a template in the packaging, if not then you will need to improvise.
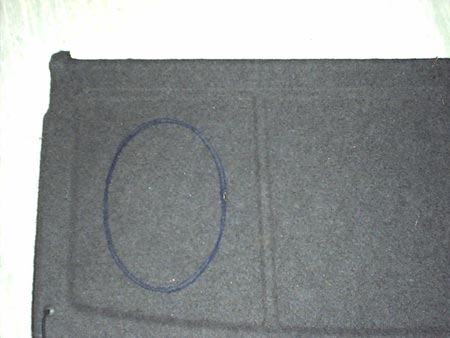
Use your jigsaw or Dremal tool to cut out the holes. BE CAREFUL!!!!!
Cover the top of the shelf in glue, as much as you can get on because it gets soaked up by the shelf and carpet. Starting from the middle of the shelf, place down the carpet and work outwards, making sure you push it all in the corners. It is fairly straight forward but may come unstuck in a corner or two, so just keep your eye on it for a while.
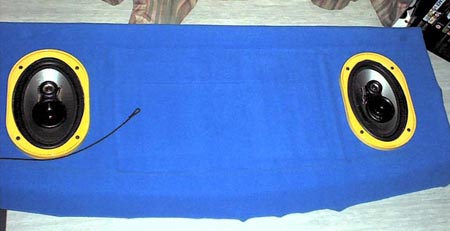
Once you know it's all dry, you will need the knife to cut out the speaker holes in the carpet. DO NOT do it when it's still wet, it wont cut properly. Screw in the speakers. I sprayed mine, to match the car.
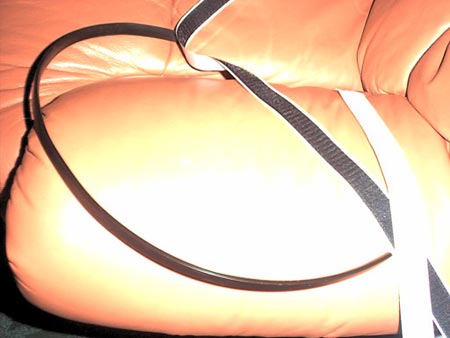
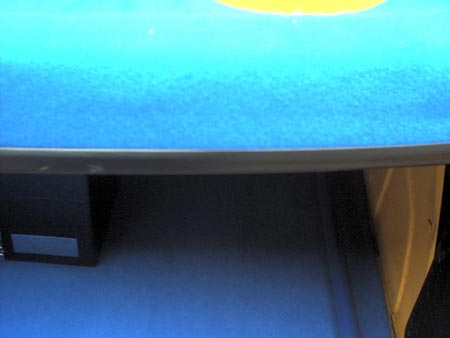
To tidy all the edges I used a strip of plastic that goes on the doors, to protect them, bought from Halfords, in 2m packs. You can get in black, red and white. You can see it in the picture, along with the sticky Velcro.
The results:
One it's all dry and everything in place, put it all back on the car. In the end, it should look like this:
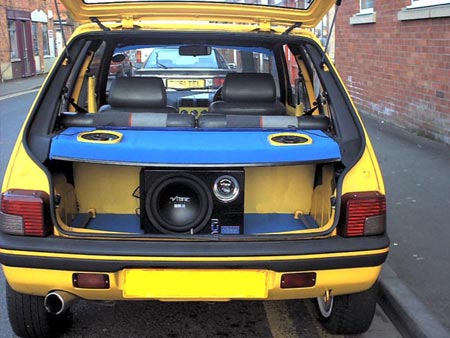
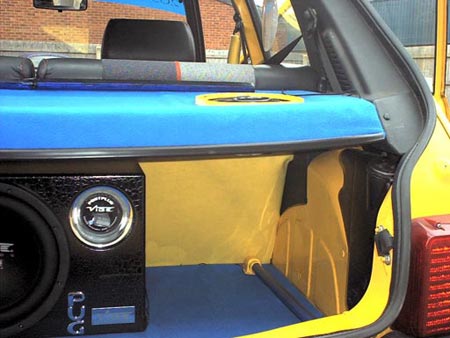
You can hide the speaker wires behind the carpet on the backs of the seats.
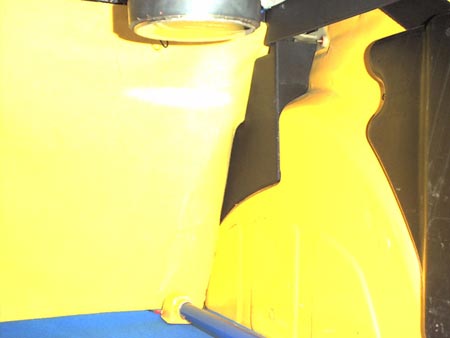
That's it, with a bit of a patience you can do a really good, almost a professional job, as displayed in this article :-).

