Legal Disclaimer
The procedures on this page are presented as guidelines ONLY. They reflect particular jobs that were done by myself and were written down from memory as a guide to others who might need to do the same procedure. I make no representations as to the accuracy of the information contained here (please remember that I am not a professional mechanic and that free advice is worth every penny). What you do to your car is what YOU do to your car. I take no responsibility for the results of YOUR actions, lack of common sense, or stupidity.

Introduction
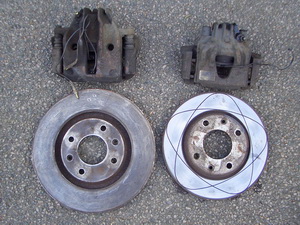
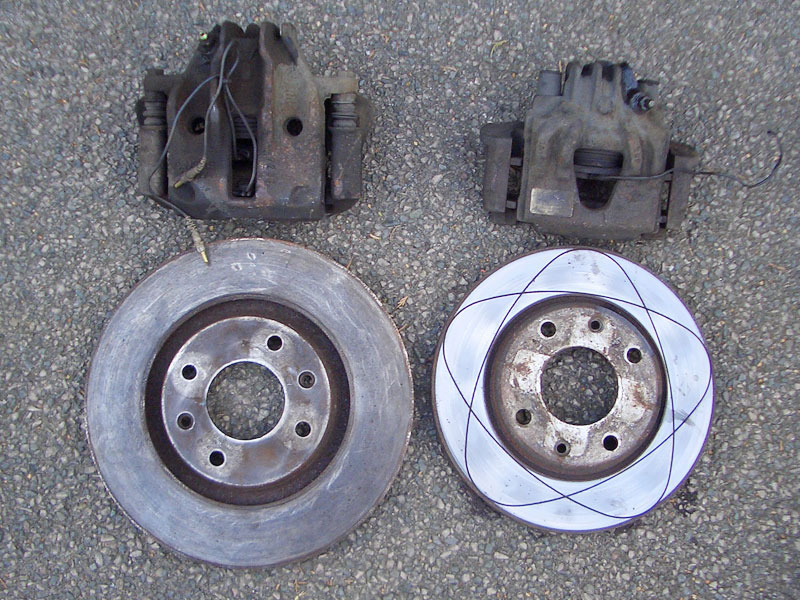
The GTi6 front brake setup is a very popular upgrade of 205/309 and 306 owners alike. They are a 283mm disc with a single piston caliper and fit under 15" wheels, and as with most Peugeot items they are fully interchangeable between most models. They can be bought new or second hand and sets can be found at both ends of the pricing scale, though on average a used set of GTi6 Calipers/Carriers/Pads/Discs should set you back around £120ish.

Note
Although this guide is showing the brakes being fitted on a 306, the installation is essentially identical on the 205/309.

Tools/Parts Required
Trolley Jack
Axel Stands
11/14mm Spanners
19mm Socket
No.3 Crosshead Screwdriver or Impact Driver
Torque Wrench
Hammer
4 x M8 Washers (not always required)
Brake Pipe Clamp (or Mole Grips)
Brake Fluid
Brake Cleaner
Copper Grease
Threadlock
Bleeding Kit (or pipe and a jar)

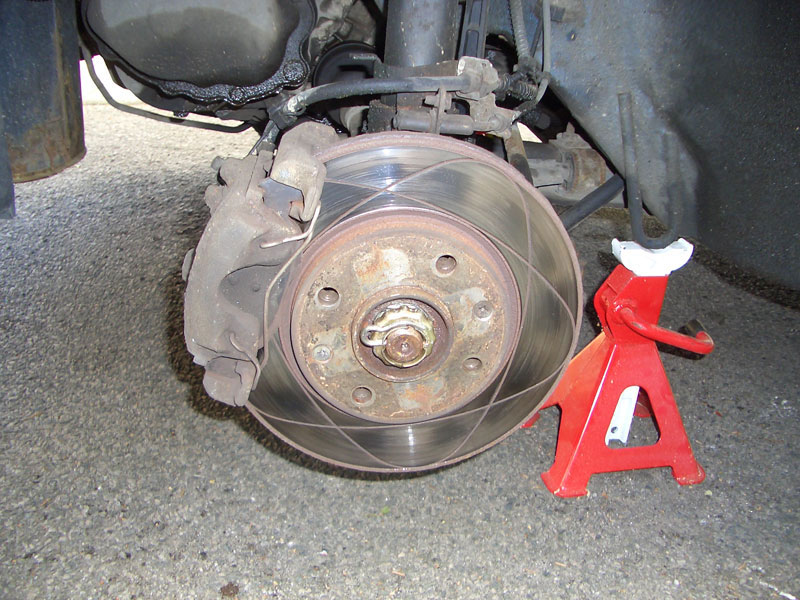
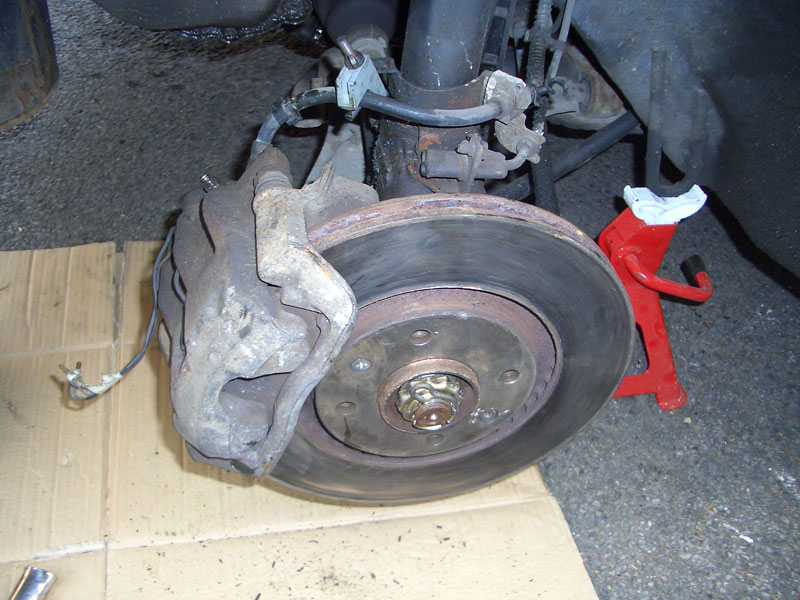
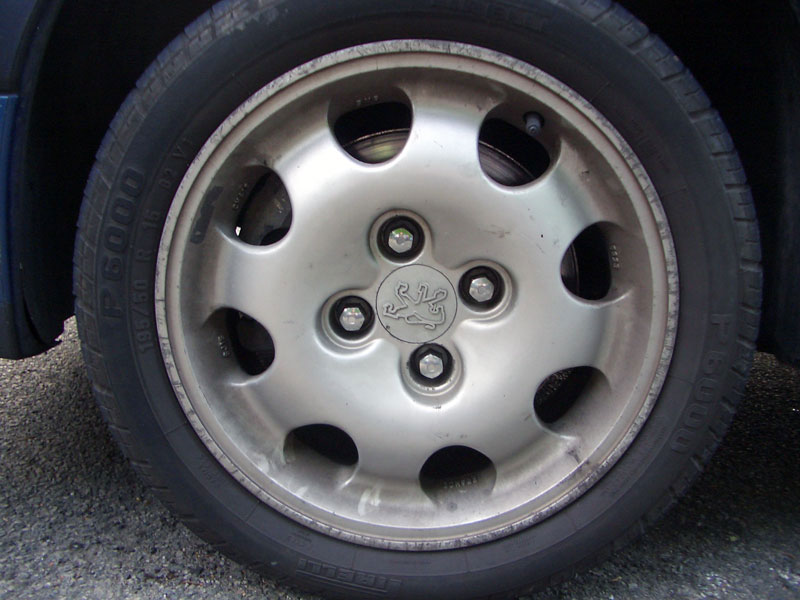
1. First thing is to loosen the wheel bolts (or nuts if you have a stud conversion) and get the car jacked up, then safely on axle stands. Then remove both front wheels. (pic 1)

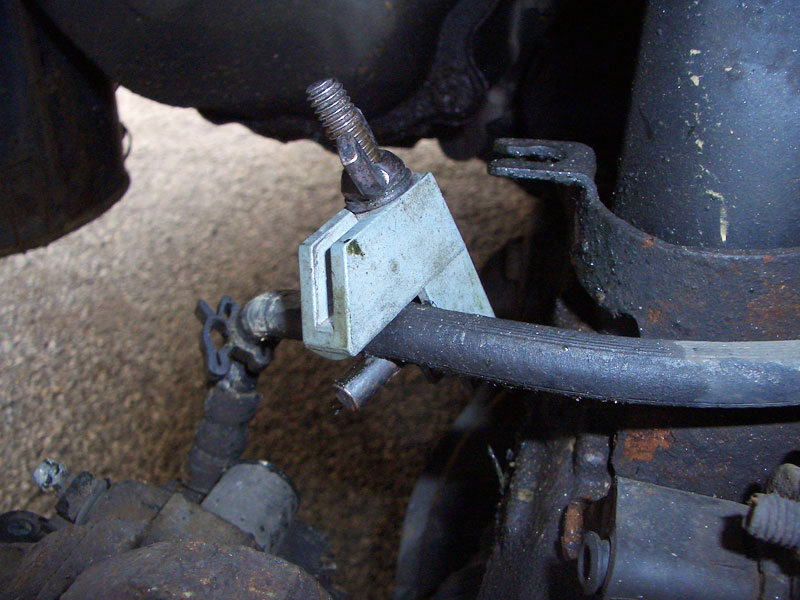
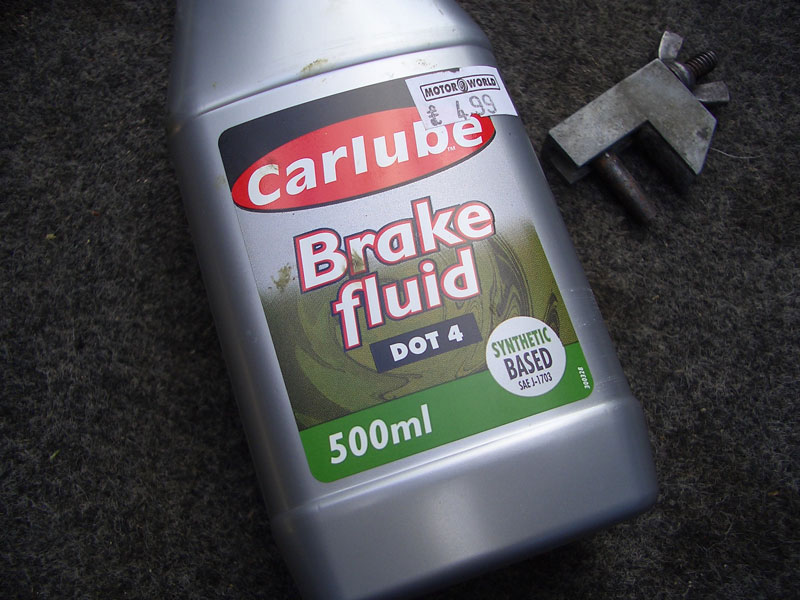
2. With the brake pipe clamp or a pair of mole grips clamp the brake hose somewhere on the flexi pipe leading towards the caliper. Generally it's best to do this as close to the caliper as possible to prevent any excess brake fluid leakage. (pic 2)

3. While the caliper is still bolted to the hub it's a good idea to just loosen the brake pipe as they can often be stuck on there good. For this use a 14mm spanner and just crack the pipe loose a little, no need to remove just yet and it will be next to impossible as the pipe will want to twist.
4. Now get your 19mm socket and look behind he disc/caliper to locate the 2 carrier bolts. These can be a little awkward to get to and VERY tight, so being careful not to damage any of the surrounding items (especially the CV Boot) loosen and remove the 2 bolts. (pic 3)
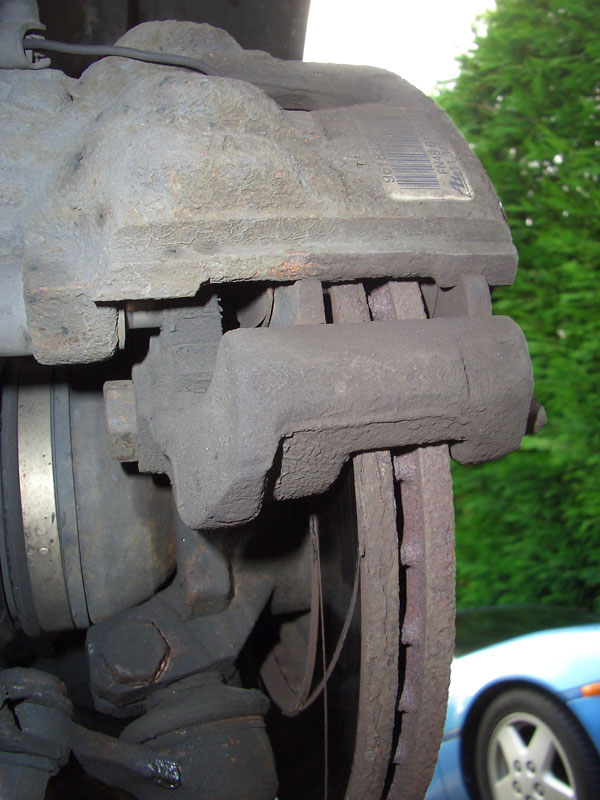

5. The caliper will now be free, though might not necessarily be movable. Often discs become very worn and a lip appears on the edge of the disc preventing the caliper/pads to be removed. If this is the case then it may be necessary to remove the brake reservoir cap and push the pads back with a screwdriver a little. You could remove the caliper from the carrier if you like but if your upgrading the whole brakes you won't be needing to use the caliper/pads/discs again so use any means necessary to get the caliper loose and off the disc that you see fit! (pic 4)
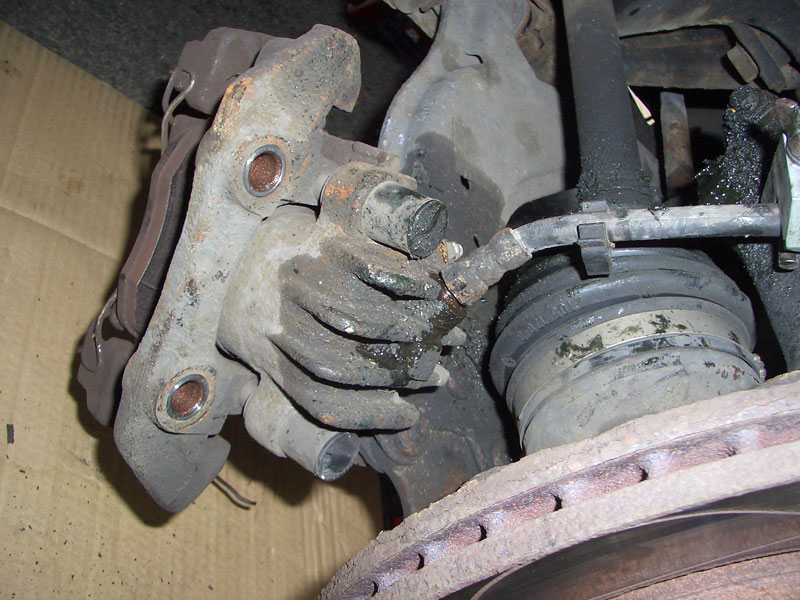

6. Eventually you should be able to pull the caliper complete with carrier and pads free of the disc, however it will still be attached to the brake pipe. As you have already cracked loose the brake pipe you should now be able to just spin the caliper in your hands to undo the pipe.
7. So the caliper is now out of the way, onto the disc. Normally the disc is held on with 1 or 2 screws, this is purely to aid the lining up of the disc and the threaded hub holes for wheel bolts. If you have a stud conversion (getting a little more common with 205's now) then you don't need the screws at all. Either way, if you have them you need to get them off. Usually they are well and truly stuck on there and have to be drilled out, but ideally they should come out if you use the correct size of crosshead screwdriver (No. 3) or an Impact Driver. If they are quite stuck then using a hammer, give the screwdriver a couple of sharp taps, this can often free up the screws. (pic 5)
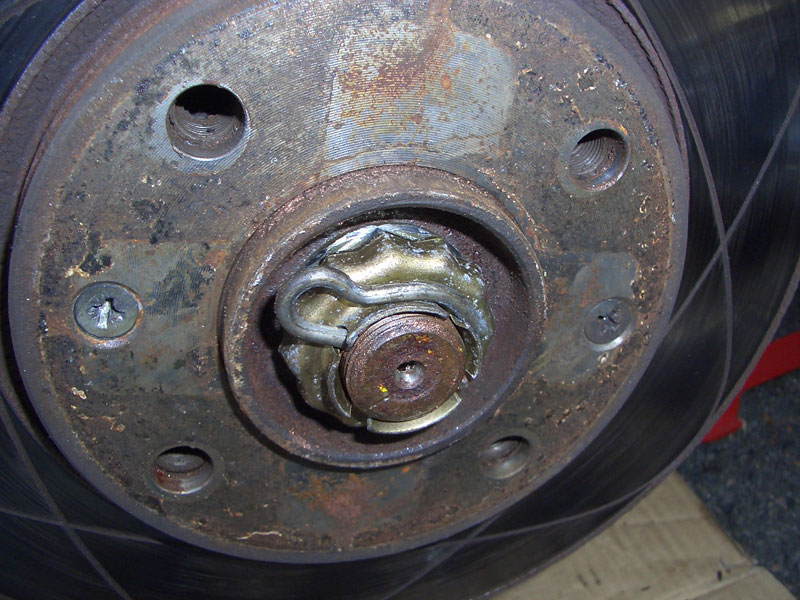

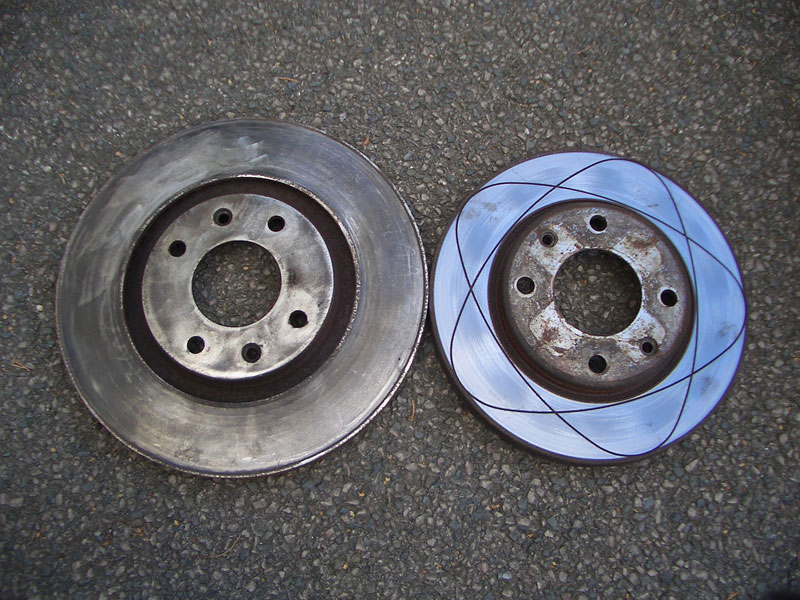
8. With the screw(s) now removed the disc will slide off. Before fitting the GTi6 disc it's a good idea to use some brake cleaner to clean off any residue. This is for both brand new and used discs as they are normally coated with protection from new and covered in sh!te when used! Once the disc is clean apply some copper grease on the hub mounting face before putting it on the hub and screwing it back down. (pic 7 & 8)
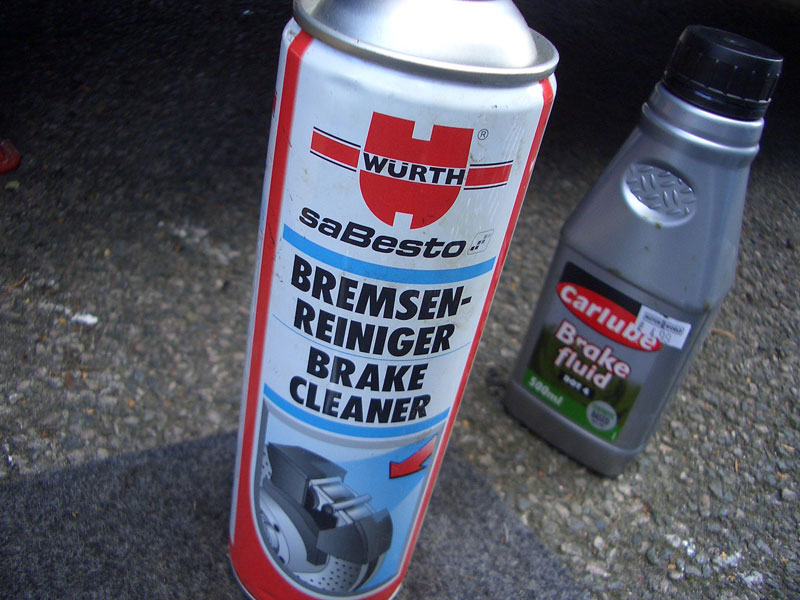

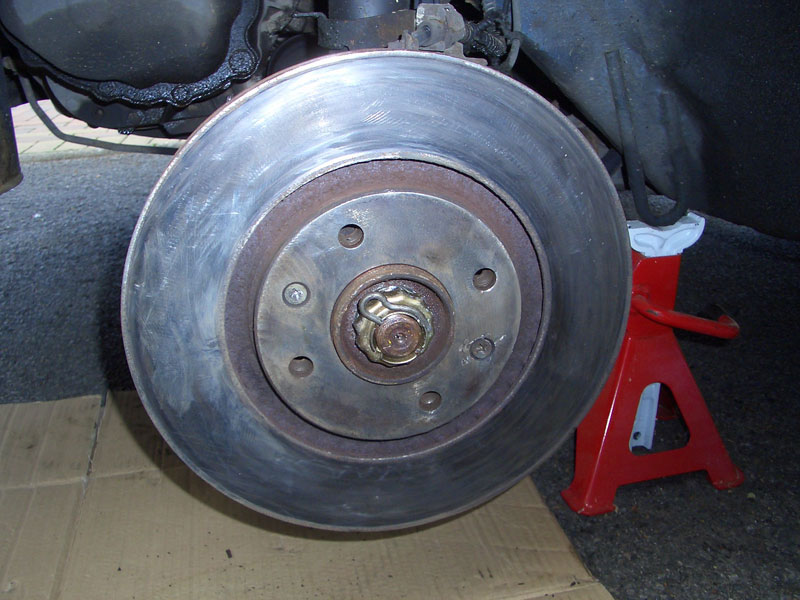
9. Now it's time to fit the caliper. If your using new pads or used it's easier to ensure now that the piston is back far enough to allow the pads to get over the disc. If you need to push the piston back then loosen the bleed nipple and push back, don't worry if it's too far in as the bleeding process will bring the piston back to it's required working position. When fitting the pads in the caliper apply a thin coating of copper grease on the back to prevent squealing.
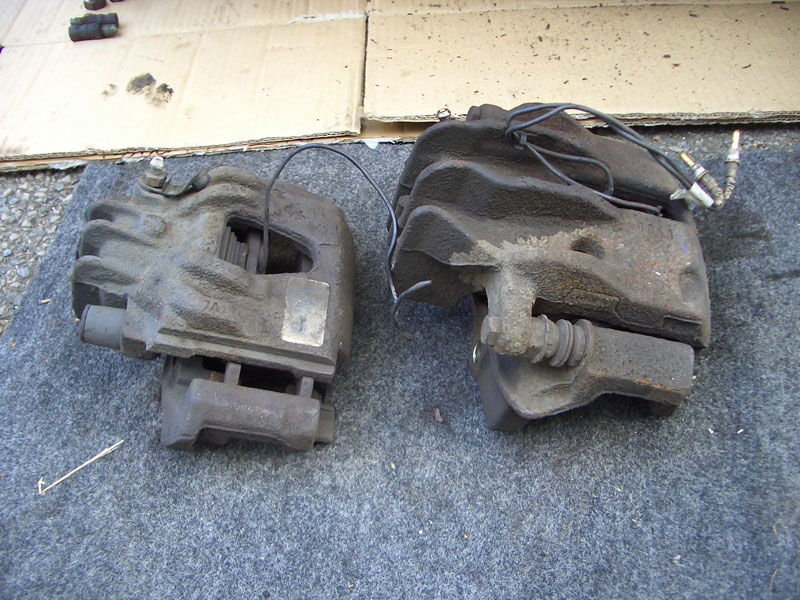
10. Before fitting the caliper to the hub you must screw in the brake pipe. Doing this now is easiest as you can just spin the caliper in your hand to screw it up into the brake pipe. No need to make it fully tight, just take it up until it only needs to be nipped up with a spanner, this should also leave you with a caliper in roughly the right position on the pipe to fit onto the hub.
11. Making sure the pads are fitted correctly you can now slide the caliper over the disc and line up the holes on the hub. In my fitment of the GTi6 brakes onto my 1996 306 DTurbo I had to add a washer to each of the carrier/hub bolts otherwise they wouldn't tighten down far enough to hold the caliper on. I'm not sure if this was just a one off on my car or whatever, though it would be a good idea to just have some washers handy incase you need them. There is NO issue in using washers to space the bolts out so don't worry if you do need to use them. Apply some threadlock to the bolts before fitting and then tighten with the torque wrench to a setting of 88 lb/ft. (pic 10)
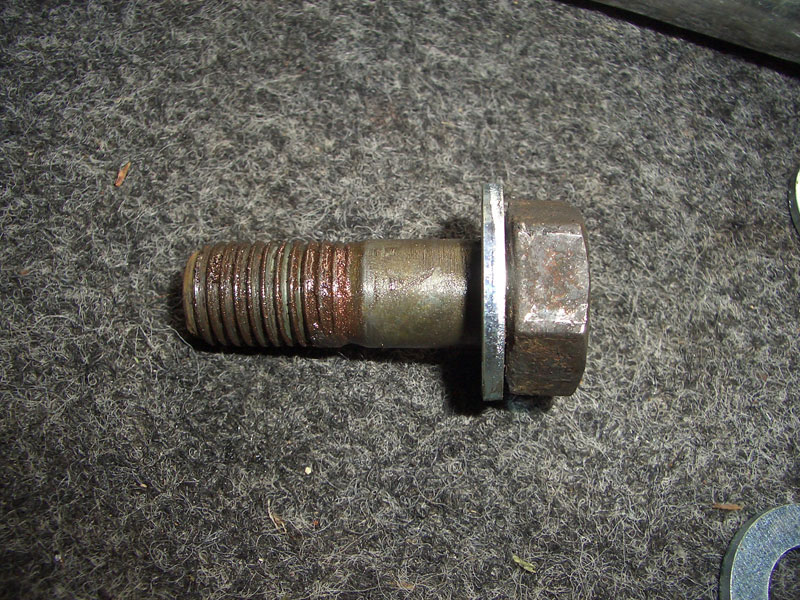

12. All that's left is to tighten the brake pipe onto the caliper. Once your happy that is on there tight you can remove the brake pipe clamp. (pic 11)

13. Repeat points 2 - 12 on the other side of the car and then move onto point 14.
14. Now it's time to bleed the brakes! There are several ways of doing this and everyone tends to have their favorite method. Personally, I keep it simple with a jar and a piece of vacuum tubing. This, combined with an assistant sat in the car pumping the brakes, has never failed for me. The general procedure is as follows.
15. Remove the brake reservoir cap and top with your choice of brake fluid (Dot 4 in my case). It's good practice to start with the brake furtest away from the reservoir, so take your vacuum pipe and place over the bleed nipple, with the other end in a jar with about 1" of brake fluid in the bottom. It's mighty important here that the end of the vacuum tube in the jar is UNDER the brake fluid level and remains there at all times, otherwise the bleeding won't work!(pic 12)

16. With everything setup loosen the brake nipple with an 11mm socket/spanner (or even one of those fancy bleed nipple spanners!) and ask your assistant to start pumping the brake pedal down and back up. Keep an eye on the brake reservoir at this point as it's likely to go down a fair way seeing as we've swapped the entire calipers rather than just fit new pads. Top up as necessary. Also keep an eye on the jar with the vacuum pipe in, it should at first just bubble up a little as the air is pushed out of the system, then eventually it will start pushing out brake fluid.
17. Once one side has started to push out brake fluid nip the bleed nipple back up and move onto the other side, then repeat the process there. With both sides bled to the point of fluid coming out go back to the first caliper and repeat the bleeding process until there are no bubbles coming out of the vacuum pipe into the jar, just a steady stream of brake fluid. Then with your assistant holding their foot down on the brake pedal do the bleed nipple up fully. Pop over to the other side and repeat the final bleeding process.
18. Once all that's done you should now have a relatively good feeling brake pedal. Before fitting the brake reservoir cap ensure the level is within the min/max on the side markings.
19. And that's it, job done. Refit the wheels, lower the car and don't forget to tighten the wheel bolts up! Take car for a test drive being very careful just incase you've done something wrong, but it's a straight forward process so it's easy to get right! (pic 13)

20. The only additional point to make here is that often people also like to upgrade their master cylinder to a GTi6 one or similar. Without doing this the brake pedal can feel a little squeegee so it depends what use you have for your car as to where you do upgrade the M/C as if you do then you may also want to fit braided brake lines too, but that's a whole other how-to.

